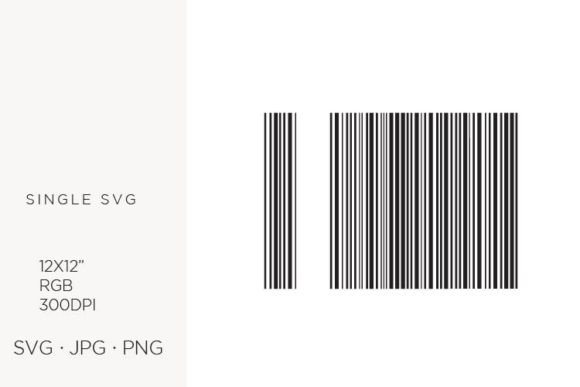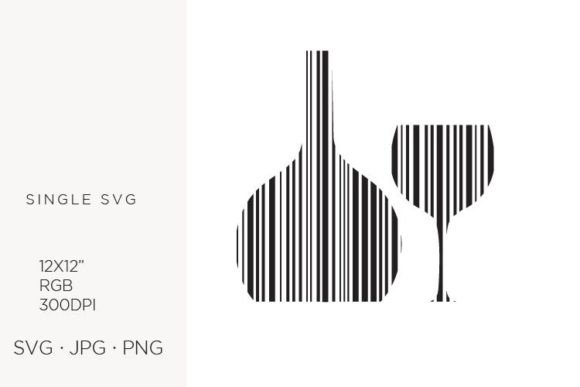
Mastering Barcode, Wine Bottle and Glass Vector Assets for Professional Design
In the world of digital design, the difference between a amateurish project and a polished, professional product often lies in the quality of the assets you choose. One specific combination that has gained significant traction among creators is the Barcode, Wine Bottle and Glass, Vector set. This unique trio of graphic elements offers versatility for a wide range of applications, from sophisticated wine label designs to modern retail packaging concepts. However, simply downloading these files is not enough. To truly leverage their potential, you must understand the technical specifications and common pitfalls associated with using vector graphics in both print and digital media.
Many designers, especially those new to the industry, overlook the critical importance of file formats and resolution settings. When you acquire a digital pack described as having an artboard size 12 x 12 with a resolution of 300 dpi in an RGB color palette, you are receiving a hybrid asset. It is designed to be flexible, but this flexibility requires knowledge. If you treat a vector file like a standard photograph, or if you ignore the color profile settings, your final output may suffer from blurry edges, incorrect colors, or scaling issues. Let’s explore how to avoid these common mistakes and ensure your creative projects meet professional standards.
Understanding the Technical Specifications
Before diving into design, it is essential to clarify what these specifications actually mean for your workflow. The term "Vector" indicates that the core artwork is created using mathematical paths rather than pixels. This means the Barcode, Wine Bottle and Glass, Vector elements can be scaled infinitely without losing quality. Whether you are designing a tiny business card or a large storefront banner, the lines will remain crisp and clean.
However, the inclusion of JPG and PNG files alongside the primary SVG format suggests that the creator has also provided rasterized versions for quick use. The 300 dpi (dots per inch) specification is the gold standard for printing. It ensures that when these images are printed on paper, fabric, or other physical materials, they appear sharp and detailed. The RGB color palette is optimized for screens, which is perfect for web design, social media graphics, and digital invitations. But here lies a common trap: RGB does not always translate perfectly to CMYK, the color mode used by most professional printers.
Common Mistakes and How to Avoid Them
One of the most frequent errors creators make is assuming that all file formats are interchangeable without consequence. Using a low-resolution JPG for a large print job will result in pixelation, ruining the aesthetic of your wine bottle illustration. Similarly, ignoring the vector nature of the SVG file means missing out on the ability to customize colors and shapes easily. Below are key areas where mistakes often occur and how to correct them.
Misunderstanding Color Profiles
Since the files are provided in an RGB color palette, they will look vibrant on your monitor. However, if you send these directly to a printer without conversion, the colors may appear dull or shifted. This is particularly noticeable with deep reds and rich blacks often found in wine-themed designs. To avoid this, always check with your print provider. If they require CMYK, convert your colors in Adobe Illustrator before exporting. Do not rely on automatic conversion tools at the last minute, as they can distort the intended mood of your design.
Ignoring Scalability Benefits
Beginners often default to using the PNG or JPG files because they are easier to drag and drop into documents. While convenient, this approach limits your editing capabilities. For instance, if you want to change the color of the wine glass to match a specific brand identity, you cannot do so efficiently with a raster image. By opening the SVG file in Adobe Illustrator, you gain full control over every anchor point and color fill. This allows for precise adjustments that elevate the professionalism of your logo design or stationery.
Overlooking Artboard Constraints
The artboard size 12 x 12 is a square format, which is ideal for social media posts, stickers, and labels. However, some users mistakenly believe this limits the aspect ratio of their final design. In reality, the artboard is just a workspace. You can expand your canvas in Illustrator to fit horizontal banners or vertical posters. The mistake lies in cropping your design to fit the initial square view, rather than utilizing the vector paths to create compositions that suit your specific medium, such as long invitation cards or wide web headers.
Practical Applications for Creators
When used correctly, these digital graphics elements open up a vast array of creative possibilities. Here is how different professionals can integrate these assets effectively:
- Small Business Owners: Use the barcode element creatively in packaging design to add a modern, industrial touch to handmade craft items or artisanal food products.
- Event Planners: Combine the wine bottle and glass illustrations with elegant typography to create sophisticated invitations and announcements for weddings or gala dinners.
- Web Designers: Utilize the SVG files for lightweight, fast-loading icons on restaurant websites or online liquor stores, ensuring clarity on high-resolution retina displays.
- Educators and Bloggers: Incorporate these visuals into instructional materials or blog posts about viticulture, retail management, or graphic design principles to enhance visual engagement.
Checklist Before You Start
To ensure satisfaction and high-quality results, perform these checks before beginning your project:
- Verify Software Compatibility: Ensure you have access to a vector program like Adobe Illustrator to fully utilize the SVG files. If you only have basic image editors, stick to the high-resolution PNGs but be mindful of scaling limits.
- Define Your Output Medium: Decide early whether your design is for print or digital use. This determines whether you need to adjust the color profile from RGB to CMYK and whether you should prioritize vector paths or raster resolution.
- Inspect Layer Organization: Open the vector file and check if the elements are grouped logically. Well-organized layers save time when you need to isolate the wine glass from the bottle or modify the barcode details.
- Test Print Proofs: If creating physical items like jewelry tags or printed paper goods, always print a small test proof. Check for color accuracy and line sharpness to avoid costly reprints.
By approaching the Barcode, Wine Bottle and Glass, Vector assets with a clear understanding of their technical properties and potential pitfalls, you can avoid common frustrations and produce work that stands out. Whether you are crafting handmade cards, designing web interfaces, or developing brand identities, these tools offer the precision and flexibility needed for professional results. Remember, the quality of your output is directly linked to the care you take in preparing your files. Take the time to learn the nuances of vector graphics, and your creative projects will reflect that expertise.